

These garlic knots are a twist on one of my favorite breadstick recipes. Garlic and bread are the perfect combination. Garlic knots go great with soup, salad, pizza, or pasta. They are fluffy and soft on the inside and lightly crisp on the outside. They are also simple and easy with only 9 ingredients. Enjoy!
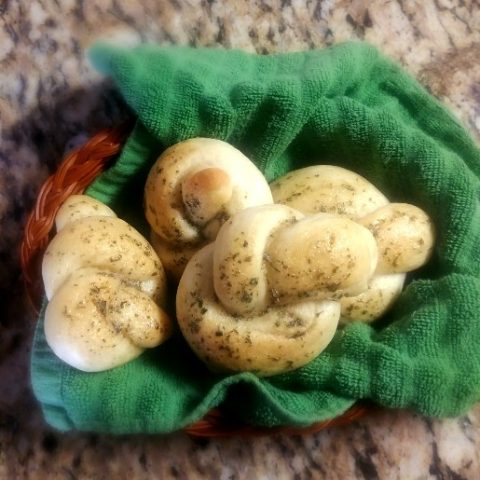
Buttery Garlic Knots
Light and fluffy with a thin, crispy crust, all topped with garlic and butter. The perfect side dish for soup, pasta, salad, or pizza!
Ingredients
- 1 tablespoon + 1/2 teaspoon dry active yeast
- 1 1/2 cups warm water
- 2 teaspoons granulated sugar
- 1/2 teaspoon salt
- 3 cups flour
- 1 tablespoon olive oil
- 3/4 teaspoon garlic powder
- 2 tablespoons butter
- 1/2 teaspoon dried parsley
Instructions
- Preheat oven to 350 degrees Fahrenheit. Prepare a baking sheet by covering it with a silicone baking mat or parchment paper.
- Dissolve the yeast in water. Mix in sugar. Add salt, flour, and oil and mix.
- Knead until you have a soft, elastic dough, about 5-7 minutes. Place in a greased bowl, cover, and set aside for 10 minutes (I like to use the bowl I mixed the dough up in).
- Divide the dough into 6 or 10 even pieces depending on how large you want the garlic knots to be. Roll each dough ball into a rope (5-6 inches long and ~1/2 inch thick). Then tie them into a knot and place them on the prepared baking sheet.
- Set aside the shaped knots to rise for 15 minutes.
- Bake for 12-18 minutes until golden brown and cooked through. While the garlic knots are baking, melt the butter and combine it with the garlic powder and parsley.
- Brush the butter mixture over the garlic knots. Serve warm.
Notes
If you make 6 garlic knots they will be quite large (about the size of a large dinner roll). So if you want smaller garlic knots, divide the dough into 10 portions. If you make smaller garlic knots, watch your bake time carefully as they will bake quickly.
Nutrition Information:
Yield: 6 Serving Size: 1Amount Per Serving: Calories: 289Total Fat: 7gSaturated Fat: 3gTrans Fat: 0gUnsaturated Fat: 3gCholesterol: 10mgSodium: 211mgCarbohydrates: 50gFiber: 2gSugar: 2gProtein: 7g
Nutrition information is an estimate only.
If you’re looking for another great recipe, I recommend checking out my Easy (vegan) Breadsticks.
Storage
Garlic knots are best eaten fresh within 1-2 days of baking. Baked garlic knots can be frozen and will last for 2-3 months in the freezer. Check out the final paragraph in this article for the best way to thaw frozen breadsticks.
You can also freeze your garlic knots before baking. Shape the knots and place them on a lined baking sheet. Freeze them for 1-2 hours. Once frozen, place them in a freezer-safe container or bag. Unbaked garlic knots can be frozen for 2-3 months. To bake, first place them on a lined baking sheet and thaw in the fridge or on the counter. Then place them on the counter at room temperature for an additional hour before baking.
Garlic Powder vs Granulated Garlic
The difference between garlic powder and granulated garlic is the granule size. Garlic powder is finely ground to the consistency of flour. Garlic powder is more likely to clump in the bottle than granulated garlic. You can use garlic powder and granulated garlic interchangeably. However, know that if you substitute garlic powder for granulated garlic, you may want to decrease the amount by 1/4 or 1/2. This is because the finer grind packs more garlic flavor per teaspoon.
If you made this recipe, I’d love to hear about it! Please leave a review or a comment letting me know how things turned out. Happy baking!
‘


